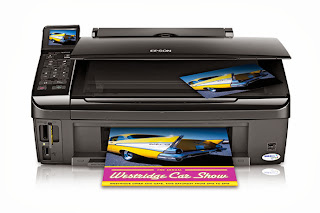
Epson Stylus NX510 Printers Driver is the middle software used for connect between computers with printers.
To download Epson Stylus NX510 printer driver we have to live on the Epson home page to choose the correct driver suitable for the operating-system that you use.
However, searching driver for Epson Stylus NX510 printers on Epson home page is complicated, because have so more types of Epson driver for more different types of products: printers, cameras, fax machines, scanners …
This topic We will share Epson Stylus NX510 printers directly driver download link to your advantage for faster download.
OS compatible Epson Stylus NX510 printer driver:
– Epson Stylus NX510 Printer Driver with Win Xp
– Epson Stylus NX510 Printer Driver for Microsoft Windows 7 32 bit
– Epson Stylus NX510 Printers Driver with Win 7 64 bit
– Epson Stylus NX510 Printer Driver for windows Vista 32 bit
– Epson Stylus NX510 Printer Driver with Win Vista 64 bit
– Epson Stylus NX510 Printer Driver with Microsoft Windows 8 32 bit
– Epson Stylus NX510 Printer Driver with Win 8 64 bit
– Epson Stylus NX510 Printer Driver with Microsoft Windows 8.1 32 bit
– Epson Stylus NX510 Printer Driver with Microsoft Windows 8.1 32 bit
CLICK HERE TO DOWNLOAD Epson Stylus NX510
Instructions for installing the Epson Stylus NX510 printers driver on windows:
– After downloading the Epson Stylus NX510 printers driver successfully, check the connection between the computer & the printers works well or not, the computer and the printer must be turned to the service of installing driver Epson Stylus NX510.
– After checking everything is ready you just download the driver folder & double click on the left or right click & select open as shown below:
Step 1: After downloading the driver installer from Epson, the drivers need to be unpacked before the installer can run.

Step 2: The installer walks you through selecting the model & interface you are installing driver for in Win.

Step 3: Press the ‘Add’ button to add the new printers to Win.

Step 4: Choose the Epson model of the printers installed from the pull-down menu and choose the type of interface in use (serial, parallel, USB, Ethernet, etc.) for the port type.
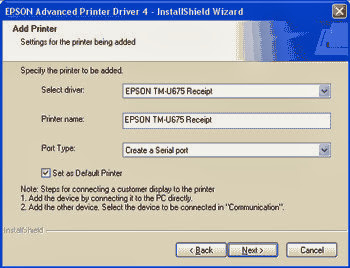
Specify the options specific to the type of interface you are using. The options will depend on the type of interface card installed in the printers.
Step 5: The install program will summarize the drivers selected. You can back up & change the driver here, if necessary.

Step 6: The drivers will now be installed with the model and port selected.
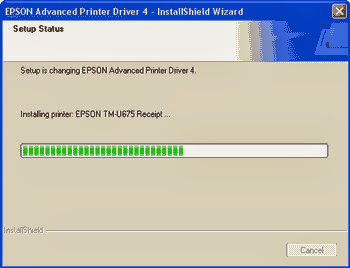
Please wait a moment! The installer Epson Stylus NX510 driver will complete!
Good luck!
Printer.8Driver.com - If this post usefull for you. Please share this post to to your friends by click LIKE FACEBOOK or Google PLUS button(Thanks!).